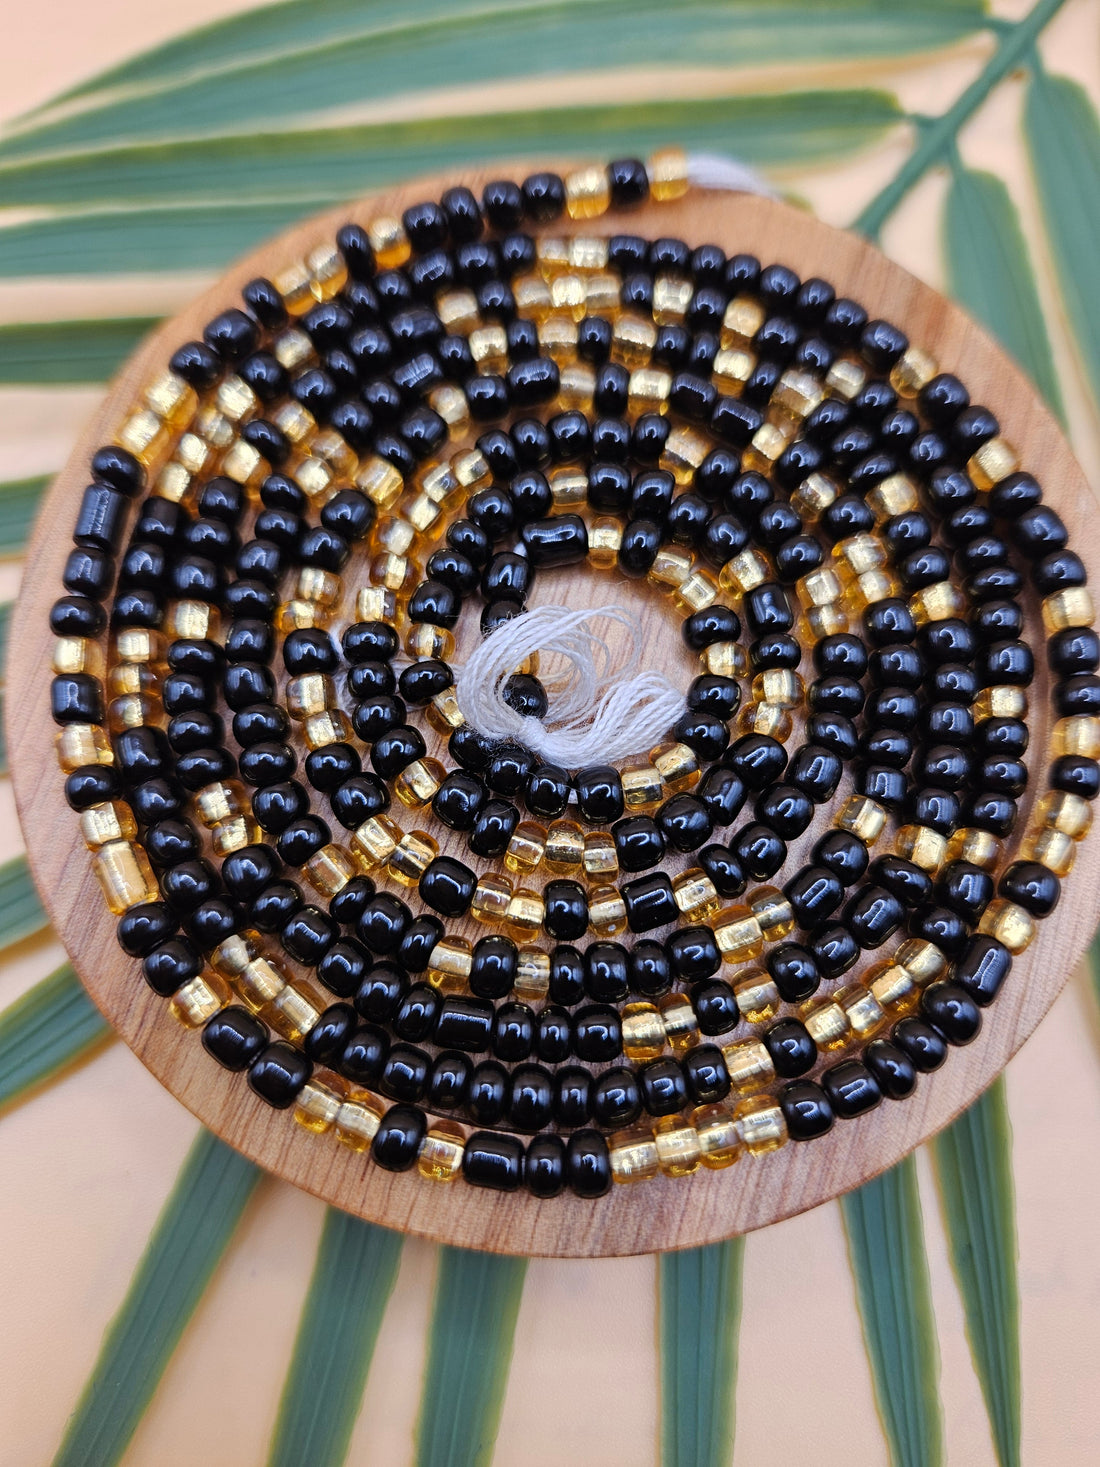
How to Tie On Traditional Waist Beads
Share
Embrace the Ritual. Honor the Body. Celebrate the Moment.
Tying on your traditional waist beads is more than just putting on jewelry—it’s a beautiful, intentional moment between you and your body. Whether you’re new to waist beads or continuing a sacred practice, this guide will walk you through the process with love and ease.
What You’ll Need:
- Your strand of traditional waist beads (non-elastic, tie-on)
- Scissors
- A mirror
- A quiet moment, if possible
Step-by-Step:
-
Find Your Flow
Stand in front of a mirror with your waist beads. Decide where you'd like them to sit—some prefer the high waist, others the hips. Trust your body and choose what feels right for you. -
Wrap with Intention
Wrap the beads around your waist, letting them sit comfortably against your skin. Take a deep breath and check the fit. Make sure they’re snug but not tight—you want room to breathe, move, and grow. -
Mark Your Spot
Once you’ve found your perfect placement, hold the beads in place and slide any extras down and away from the waist area. This is your time—feel free to speak an affirmation or set an intention as you prepare to tie. -
Tie it Down
Tie 2–3 secure knots where the beads meet your desired fit. Make sure the knot is tight so it won’t loosen over time. -
Trim the Rest
Carefully use scissors to cut off the extra string and unused beads. You can save the leftover beads or let them go—your choice.
A Few Tips:
- Waist beads are meant to be worn continuously. Once tied, they don’t stretch or come off easily—this is part of the ritual.
- Many women use them to track weight changes, feel sensual, or honor a personal journey.
- Remember: this is your adornment. Wear them your way.
You’re Tied In. Now You Glow.
Thank you for sharing this moment with us. Whether it’s your first strand or your tenth, we’re honored to be part of your journey.

